Brown and gray and white
BFleeting pops of red and pink
BThe promise of chartreuse
Cold wind, blowing snow
BWrapped in the comfort of blankets and sweaters
BWoolen heaven
Holidays wave goodbye
BSpring dances in the distance
BCozy limbo

Brown and gray and white
BFleeting pops of red and pink
BThe promise of chartreuse
Cold wind, blowing snow
BWrapped in the comfort of blankets and sweaters
BWoolen heaven
Holidays wave goodbye
BSpring dances in the distance
BCozy limbo
I want to wish my readers (if there are any of you left!) a Merry Christmas and Happy New Year. It’s been seven months since my last post. I didn’t intend to fall off the radar it just sort of happened. I won’t go into ALL the details, that would end up being a three page post, which neither you nor I have time for. So I will try to sum things up using an economy of words.
When we put our house on the market back in the spring of 2016 I never imagined it would be nearly a year and a half before we were through the ordeal of selling and moving and finally getting settled in another house. After a few offers and contracts falling through we accepted the offer of a sweet young couple that wanted a closing date five months out. Good thing because it took every bit of that to purge, pack and hold my living estate sale.
Looking back, I know I never want to go through that again. There were so many difficult steps, both physically and emotionally. At times I wasn’t sure I’d live through it! We’ve been in our new, much smaller, more efficient home since the end of September and it feels great to be lighter on possessions. I brought a few of my most favoritest antique pieces but sold waaaay more than I kept. I’ll pick up a few more contemporary pieces to update the look but am resolved to stay light enough to actually have some empty space in closets. Getting rid of 23 years’ accumulation was enough to ensure that.
We purchased a very modest split foyer home in a lovely neighborhood. The house needs some updating but it’s fine for now. I need some time to recuperate before jumping into any projects.
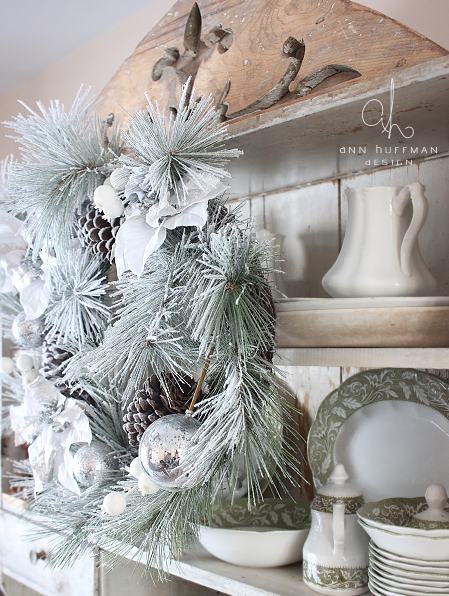
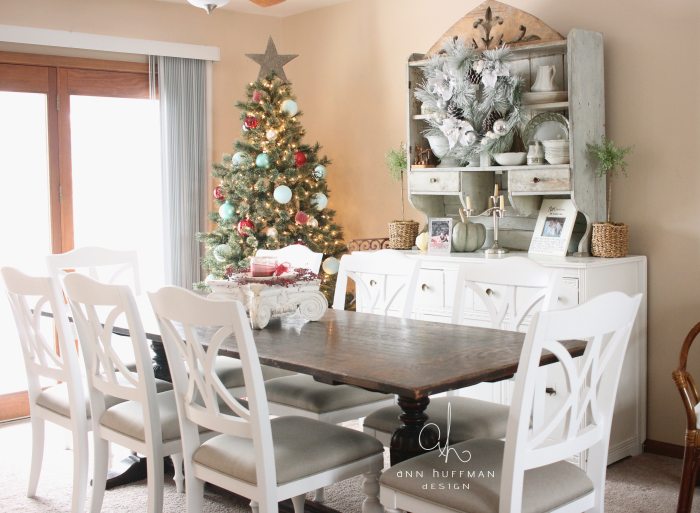
Here’s a peek at the dining room.
I hope to share more of the house later. Gary is holding steady and we’ve started a new protocol with a new neurologist that practices functional medicine. Hoping to see continued improvement. Will share more about that too.

This picture was taken at church a couple of weeks ago.
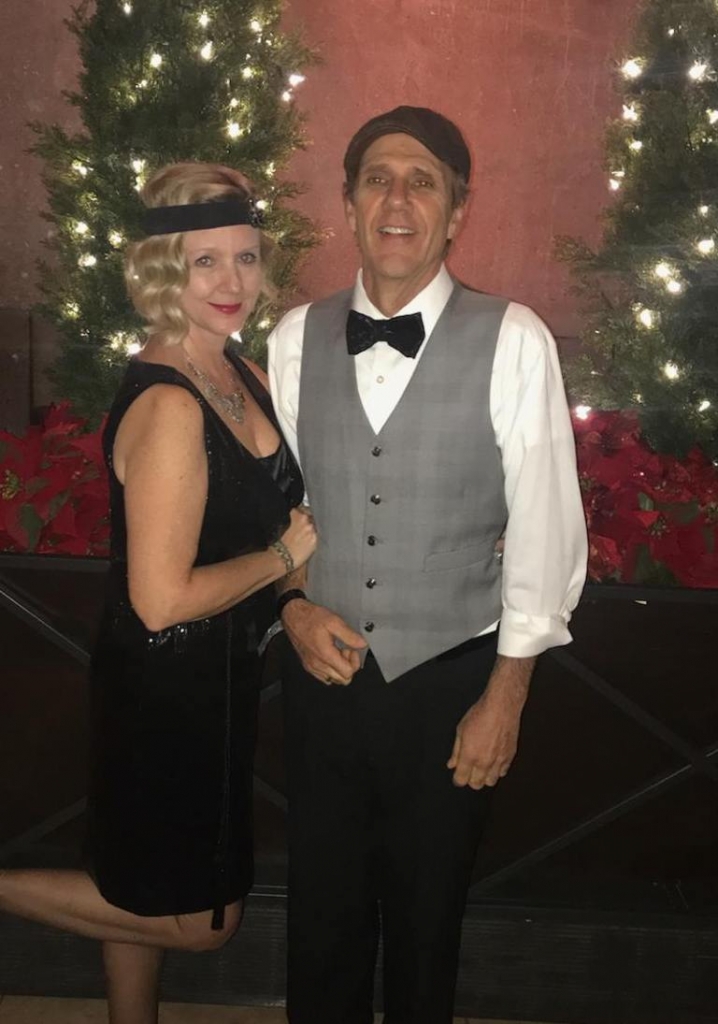
Back in November we had such fun dressing in Gatsby style and dancing to a live swing band.
I hope you’re staying warm and safe.
Till next year,
Ann
I hope you enjoyed Memorial Day weekend and did something you love with someone you love. Summer is here! I love a good nest year round, no matter the weather. The post that follows is one of my most popular ever, a super easy DIY pearl nest. I love a project that you can put together in an hour or less and this is one of those.
Nests seem to have become a decorating staple. Who doesn’t love a good nest in their decor? Over the years I have created a few variations of this sweet spring symbol, one made from rusty wire, another from tulle. I have a couple of real nests I incorporate into my decorating too. Today I’m going to show you how to make a pearl nest.


Supply list: Just pearls and wire!
String your pearls on wire using random sizes and shades of white. Your nest will be made up of two sections so you’ll need to string two separate pearl strands. To build the nest, start with a tight coil as the center of section one.
Then wind it around in a messy bundle.
Section two will be more of an organized mess. Weave the strands in and out and around to form another bundle.
Now take the second section and place it on section one and attach with small pieces of wire.
At this point in the project, I just scrunched around and pinched until I molded the nest into a shape that was wider at the top rim and got narrower towards the bottom.
Fill with moss and eggs to complete the look! I couldn’t find my stash of tiny eggs so I used painted acorns. Display your designer nest under a cloche, on top of a candlestick, with other nests or by itself for a dazzling spring welcome!
I’m on Facebook almost every evening and would love to connect with you there. Just click on the little “f” to come over and chat.
![]() Hope to talk soon!
Hope to talk soon!
As most of my readers know, I’ve launched a new design business. I’m still doing graphic design, but I’ve added interior design/decorating to my “job description.” For my very first client I got to design a spa oasis master bedroom. She wanted browns, spring greens and ambers, with lots of succulents and white hydrangea. I will tell you more about that in another post.
My second client was a staging project. Her house had been on the market for about nine months, still waiting for a contract. Her mother (a dear friend of mine) hired me in hopes that a little bit of re-styling could help it sell. By taking a few accessories in and re-styling some of hers, we were able to highlight the house’s best features with very little expense.

In the before photo you can see that the table was in the center of the huge dining room. We moved the table to the bay window area to show off the built in bookshelf and to provide a separate seating area on the other side of the room.

I changed out their gorgeous but very personalized beach wedding photo with a floral pop of a picture. I gave the table a richly colored floral arrangement for a centerpiece, along with a textured basket that she had.

With the built-in exposed I went to work styling the bookshelf with some of her accessories and some of mine.
The other side of the room was now freed up to allow for a bistro table and chair that my client’s mother brought and styled.
One of the things I love about old houses is the many built-ins they often have and Sarah’s house was blessed with two.

The before picture shows the bookshelf in her living room needing a little love.

By taking some pieces she already had and adding a few pieces from her mother and me the shelves became a focal point in the room.
See that pop of color behind the calla lily picture? It’s a place mat wrapped around and taped onto a piece of cardboard. Using what she already had plus adding a little creativity we were able to create depth and tie the colors in the room together for no added expense.
Remember how I told you the house didn’t have a contract after nine months of being on the market? Just two weeks after the staging, the sellers received an offer and are now making plans to move into their new home. All of this (plus some additional styling in the kitchen and porch) was done for very little money and three hours of my time.
Staging occupied homes is just one of the design services I offer.
Head over to my Design Services page to check out all the options I have for creating a space that is uniquely you, including E-Decorating for out-of-towners.
Time for a house sale and moving update. Unfortunately the contract we had
on our house fell through.
BUT
fortunately another offer came in within a week and we are under contract again.
BUT
we aren’t going to close until September!
So the saga continues. Slowly working on sorting, pricing and boxing items for a grand moving sale.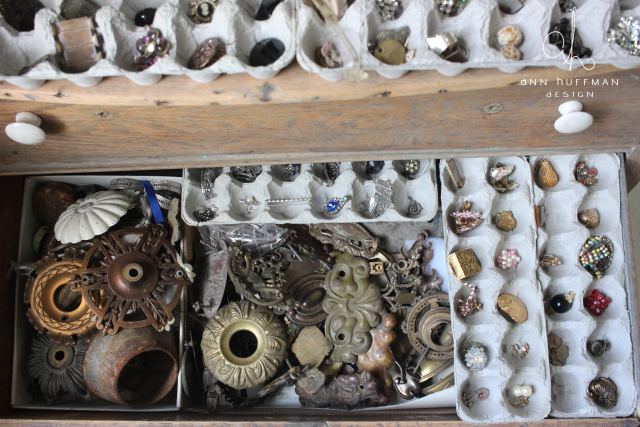
This is a small sampling of the bits and baubles I will be selling. There are a lot more where these came from and since I’m moving on from making jewelry I will be getting rid of all the wonderful pieces I have squirreled away over the years.
Because of the extended closing date we haven’t been able to seriously house hunt.
Most sellers won’t want to wait that long to close and it just becomes an exercise in disappointment if we find one we love.
Until we know what our next house will be like, I’m unable to choose exactly which big pieces to keep and which ones to sell. We’ll start looking again in July or maybe a little bit sooner and will schedule the moving sale for sometime in early September.
So, what does one do when she can’t sell her wares? She buys more of course.

My semi annual flea market shopping was last week and these are the things I couldn’t pass up. One can never have too many vessels to hold flowers and stuff, right? Don’t answer. But especially in neutral colors. The bucket, tray and galvanized pan can all be used in various ways, in various rooms and each item was a real bargain. I got the books and chunky leg for a song. All of it could and might end up in my sale if I decide I don’t need them…

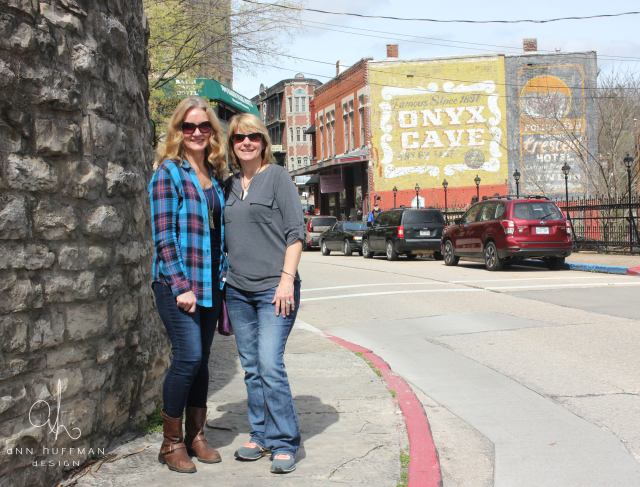
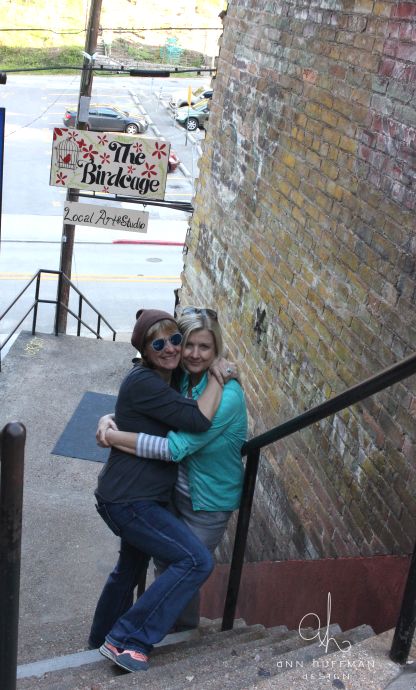
A few weeks ago I wrote about a Eureka Springs, Arkansas girls trip that I was getting ready to go on
and I promised pictures so here we go.
I may or may not have climbed a fence and snagged my pinky finger on barbed wire while jumping down to make it in this shot.


Live music everywhere.


Dancing in Basin Park.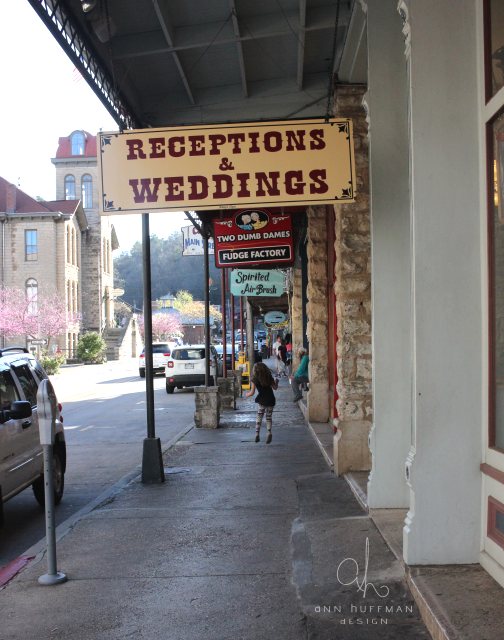


Lots of cool art and architecture


The choices for good food and shopping were plentiful, community events participation impressive and the night life did not disappoint. It was the second trip I have made to Eureka Springs and I would not hesitate to visit again if the opportunity presented itself.